This page will help you get started using submerged. Since this project is still in the works, getting started will require you to have some background in hardware and software development. If you do not have that, we strongly recommend teaming up with someone who does until the project has matured a bit more.
Step 1: Getting the hardware
First you’ll need to think about what exactly you want to use submerged for. This will determine the hardware you need to purchase. To find out more about the options, head over to the hardware page. If you want to try it out first without the need to buy any hardware; Submerged supports a simulated mode which you can run on any internet connected PC running Windows 10.
Step 2: Getting the mobile app
Your main interface with Submerged is the mobile application. At the moment, you’ll need to manually deploy the mobile app to your phone as it is not yet available on any appstores. That’s on the todo list.
Note: at the moment the mobile app has only been tested on Android.
To install the app, open the MobileApp project in Visual Studio. Connect your Android phone via USB and ensure that it’s set-up to allow third party packages sources. In Visual Studio make sure “Device” is selected as the deployment target. A simple F5 should now push the package to your phone. We’re working on making an already built .apk available for a bit better experience.
Step 3: Getting an account
In order to use the mobile app, you’ll need a registered account. For now, there’s no registration process available. Drop an e-mail to us @ [submerged at repsaj dot nl] to get an account. At the moment, an account is free of charge as long as we can run the back-end without too much cost involved. We might start requesting a small fee when user numbers increase.
Step 4: Registering your gateway
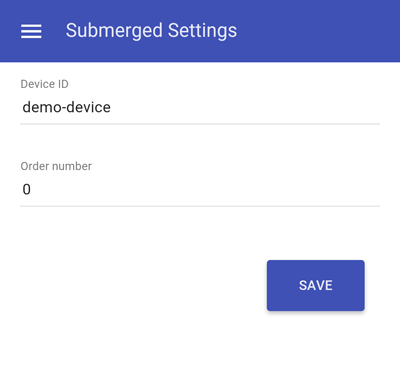
Once you’ve got the app installed and you’re logged in; head over to the settings section. Here you can create a new gateway device by simply giving it a unique name.
Once registered, select the device to open the properties and scroll to the “DEVICE” tab. There you will find the keys for your device as follows:
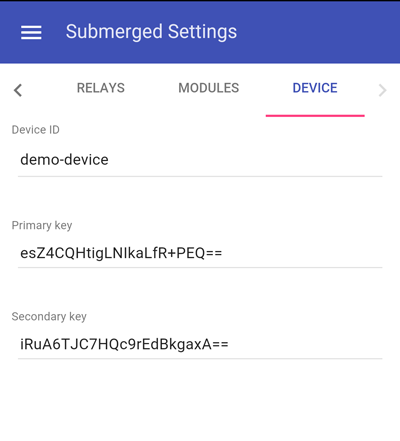
You will need this information (device id + one of the keys) to configure your gateway in the next step.
Step 3: Configuring your gateway
For the gateway you’ll need a device that runs Windows 10 (regular or IoT) and supports bluetooth to connect to your modules. The Gateway app needs to be deployed to that device. As with the mobile app, you will need to do that manually at the moment from Visual Studio. Once you boot the app for the first time, it will show the following screen:
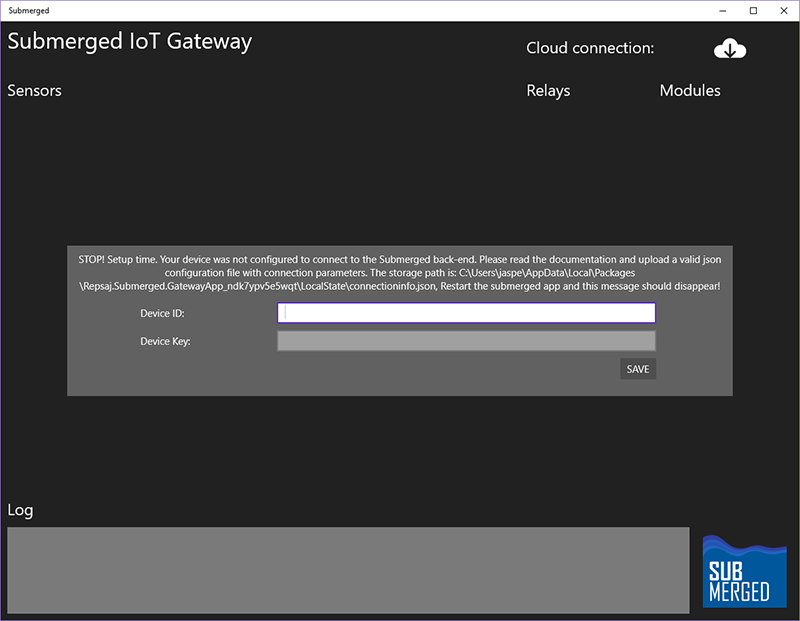
Your gateway now needs to be configured for connecting to the submerged back-end. You can either fill in the two textboxes with the correct info from the app, or you can manually upload a json file to the mentioned file location on your device should it not have a keyboard attached. The json file should have the following info:
|
|
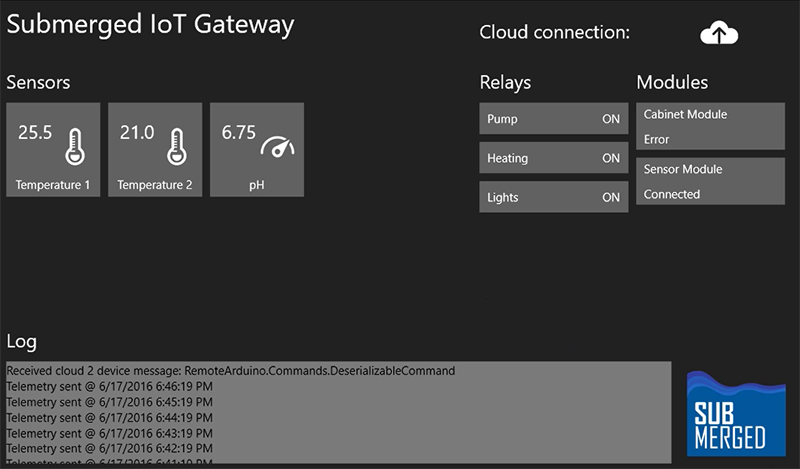
The gateway will now reach out to the cloud and request for a device update. Once it receives this update, it will automatically start connecting to the configured modules and sensors. Submerged is now functional!